
A mini-split leak that came down to one rubber ring
A Hollywood condo's ducted mini-split was losing R410A at a fitting hidden in the ceiling — I cut it out and brazed the line.
In this guide
Condos with ceiling mini-splits leak. It’s the most common call I get on them, and this one in Hollywood ran true to form: a ducted system losing R410A.
The leak wasn’t on the roof.
One condenser, three air handlers in the ceiling
Say mini-split and most people picture a white box on a living room wall. This wasn’t that. One condenser sits on the roof of the building and feeds three air handlers hidden above the ceiling, each one pushing air out through flex duct. From inside the condo you don’t see any of it. That’s the appeal of the design, and it’s also why a leak on one of these is a different job from a leak on a wall-mount head.
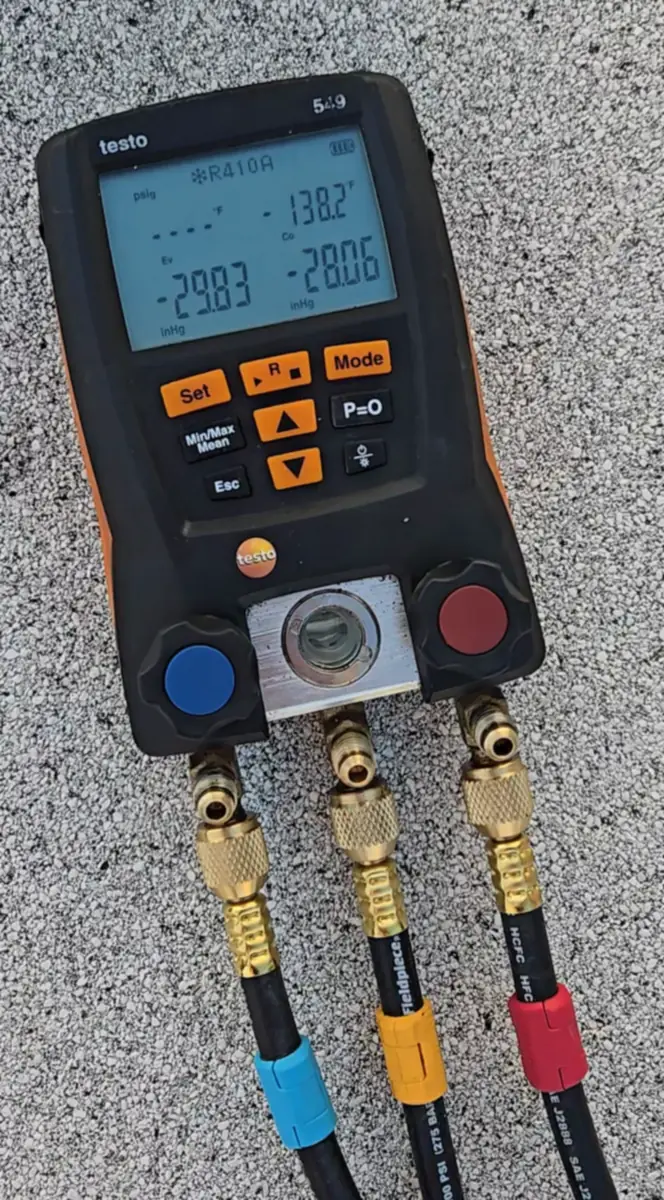
The testo 549 read R410A. Refrigerant doesn’t get used up, so a system that’s low on charge lost it through an opening somewhere, and on this one the search had to cover a line set running from the roof out to three separate indoor units.
The leak test sent me into the ceiling
First instinct on a rooftop system is to blame the roof. The condenser is out in the weather, the service valves are right there, and everything is easy to reach. Not this time.
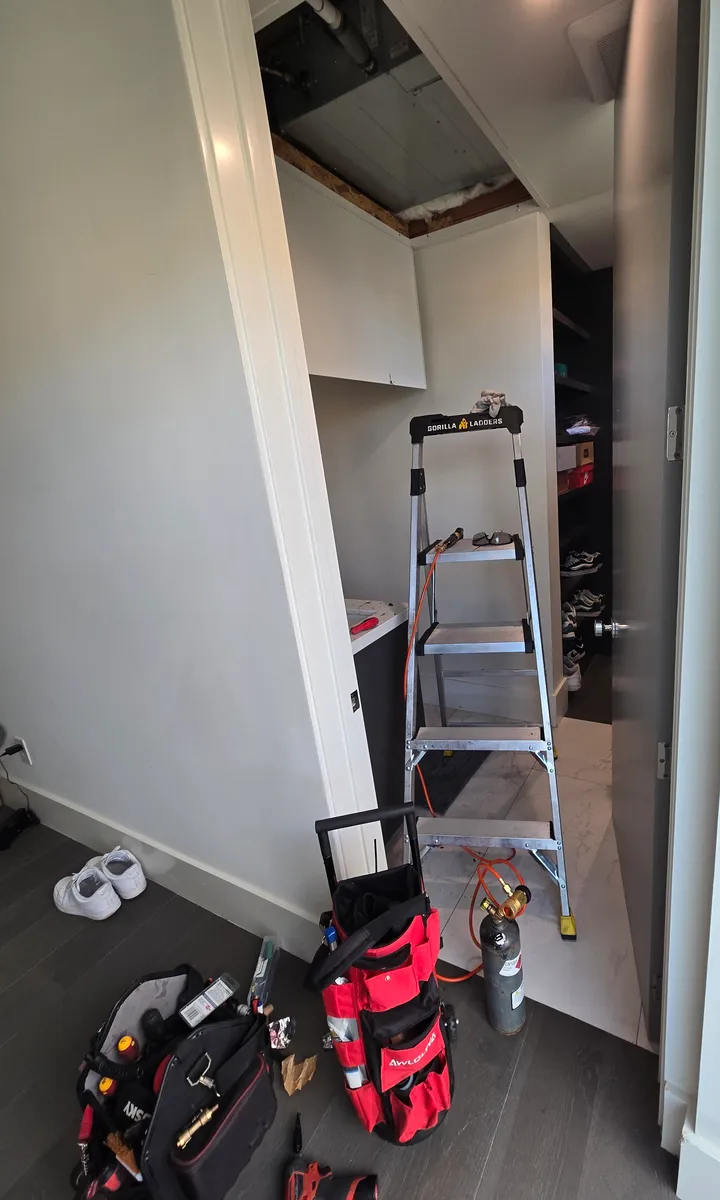
The leak test walked me off the roof and down into the condo, to a hallway closet with an access panel in its ceiling. One of the indoor air handlers lives up there. So up the ladder, head and shoulders into the cavity, and that’s where the two copper refrigerant lines came together.
What was holding those two copper lines together
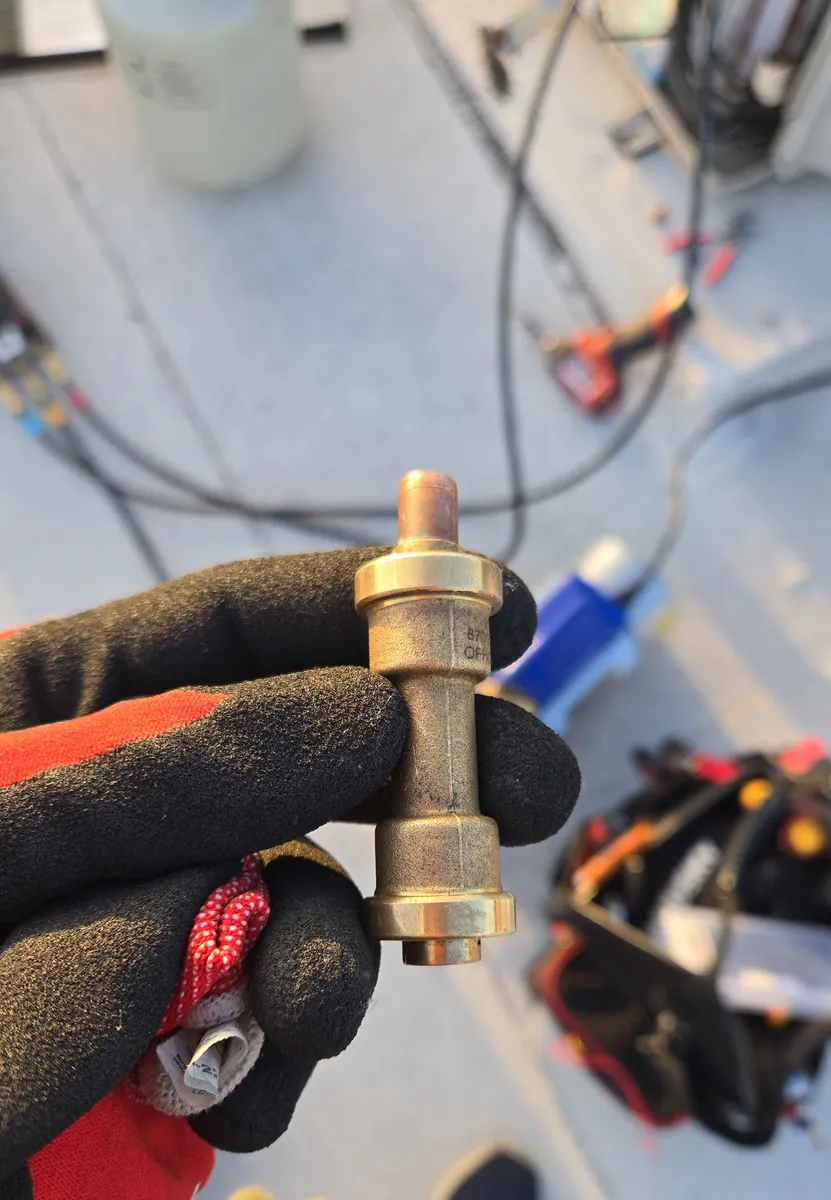
A quick-connect fitting. Not a brazed joint. Two copper lines pushed into a coupling that does the sealing for you.
I want to be careful about what I’m saying here, because it’s easy to take the wrong lesson from it. That fitting is sold and listed for refrigerant work. It isn’t the wrong category of part. But it seals on an elastomeric ring, which is rubber in plain English, and a rubber seal is a part with a service life. Put one in a ceiling cavity where nobody can look at it, and the day it relaxes is the day the charge leaves. This one had stopped holding.
I don’t know who made that joint or when, and I’m not going to guess. What I can tell you is what I found up there.
There are a lot of quick-connect couplings on the market and they don’t all behave the same way, so some hold up worse than others. Brazing has its own catch: a bad braze leaks too, and making a good one takes practice. Done right, though, a braze is still the best joint I know of on a refrigerant line.
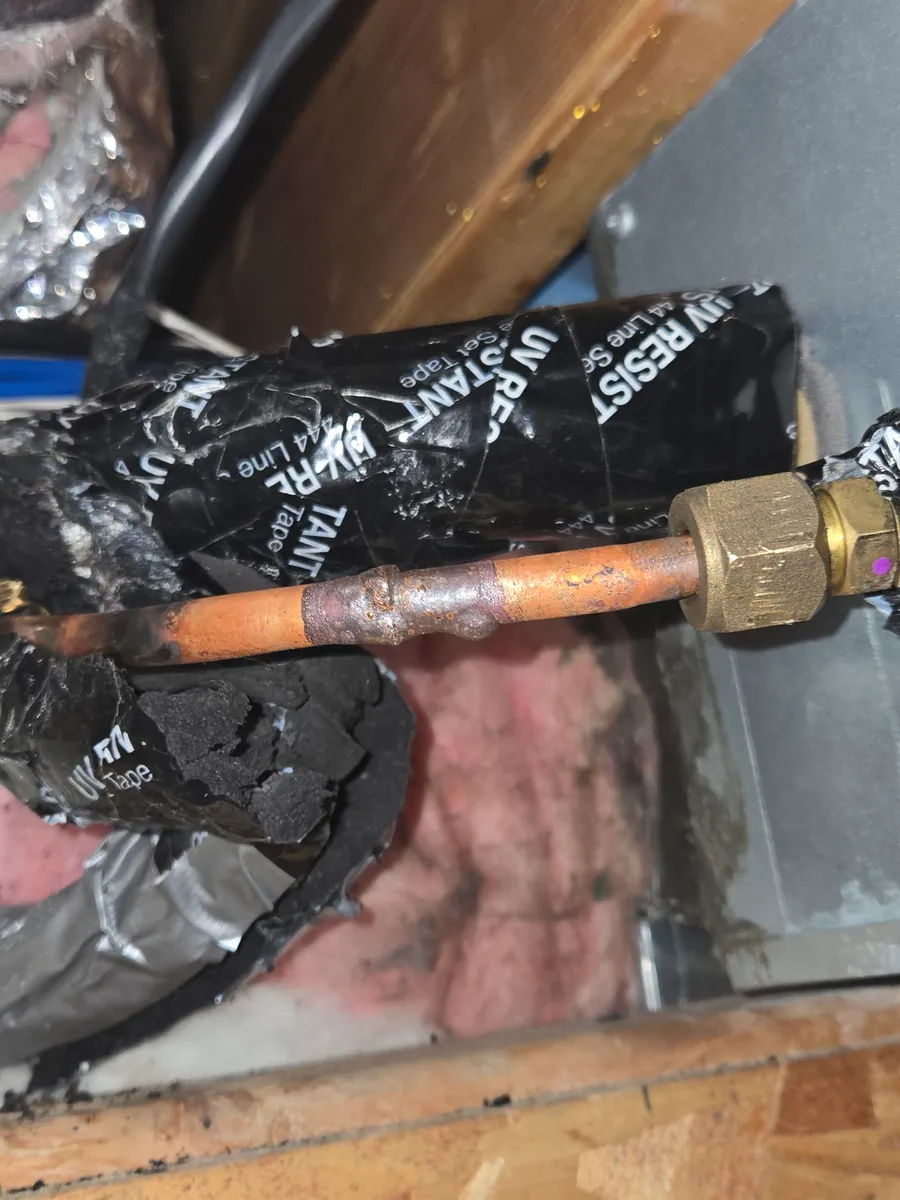
So I cut it out and brazed the line. A brazed joint is metal flowed into metal and left to cool. There’s no elastomeric seal anywhere in it, nothing that has to stay squeezed to keep refrigerant on the inside.
Bringing a torch into a ceiling full of wood
Doing that joint out on the roof would have been easy work. Doing it up in the cavity is another matter, because the cavity is full of things that burn. Wood joists on both sides. OSB sheathing overhead. Fiberglass insulation in the bays, flex duct running past.
Everything within reach of the flame got coated in heat-blocking gel before the torch went in. That preparation is most of the work on a joint like this one, and the brazing itself is the short part. It’s also why a concealed joint isn’t a place to bring a torch casually.
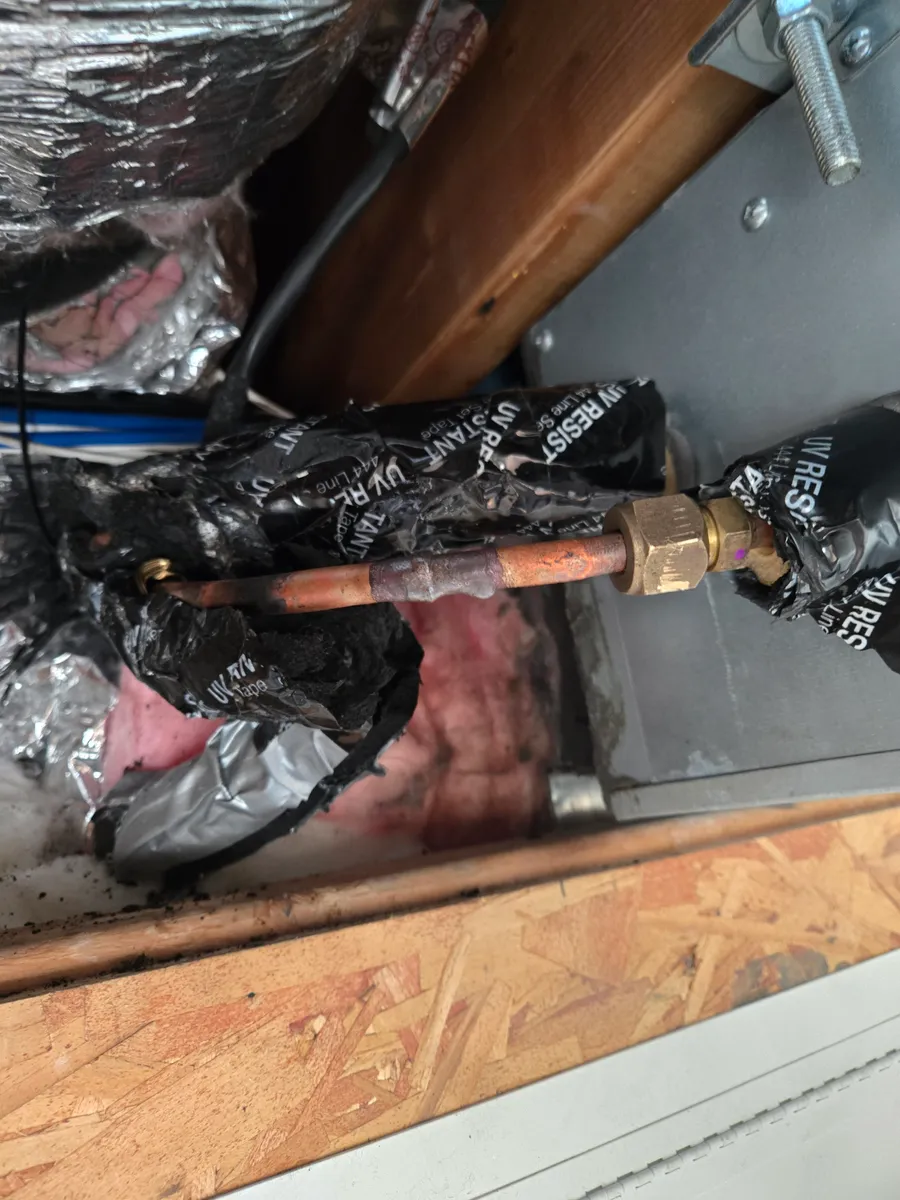
Once the joint had cooled I blew the line out with nitrogen and let it stand.
Then the vacuum, and it held
A vacuum test is the honest answer to whether a system is still leaking. Pull the pressure inside far below the air pressing on it from outside, valve off the pump, and watch the gauge. If anything is still open, atmosphere works its way back in and the reading climbs. Nothing to interpret.
This one came down deep and stayed there. It held, so nothing was leaking, and that’s the last thing I check before any refrigerant goes back in.
Where these systems leak, and what we do about it
On a ducted ceiling mini-split the charge almost always leaves on the line side. Either somewhere along the refrigerant line, or at a flare connection. That’s what I check first on these, and it’s why this job started with a leak test instead of a gauge set on the roof.
Flares are the usual spot. A flare seals metal against metal, held there by a nut, and metal under a nut relaxes. A joint that was tight the day it was made doesn’t stay that way forever, and once it opens up, the charge has somewhere to go.
There’s a fix for that, and on our mini-split work it isn’t optional. A thin plastic ring goes into the flare before the nut goes on. Tightening crushes it, and the crushed plastic fills what metal against metal leaves open. It’s the best answer we’ve found for flare joints on these systems, so every flare we make up gets one.
Mini-split trouble in your building
If your ceiling mini-split is blowing warm, icing up, or has been topped off before and lost it again, you’re looking at a leak, and it may be somewhere you’d never find from the roof. We do ductless and ducted mini-split service and AC tune-ups across Los Angeles, including concealed systems in condo buildings like this one. There’s an earlier mini-split job on the blog where the trouble showed up right after installation, and a condenser coil leak we replaced on an older system. CA BEAR registered (#A 50636), EPA 608 Universal certified, $1M insured, 1,266+ repairs. Ask about available appointments; timing depends on scheduling and parts. Our work carries 30-day labor and 90-day parts warranties. Call or text (213) 205-2055, or book online.
FAQ
Why braze a refrigerant line instead of using a quick-connect fitting?
A quick-connect fitting is sold for refrigerant work, so it isn't the wrong kind of part. It does its sealing with an elastomeric ring, though, and on this Hollywood mini-split that ring had stopped holding, so the system lost its R410A into a ceiling. A brazed joint has no elastomeric seal anywhere in it. Once the copper cools, there's nothing inside the joint left to age or relax.
How do you prove a mini-split refrigerant leak is actually fixed?
With a vacuum, before any refrigerant goes back in. After brazing I blew the line out with nitrogen, let it stand, then pulled the system down into a deep vacuum, valved off the pump and watched the gauge. If anything is still open, atmosphere works its way back in and the reading climbs. This one held, so nothing was leaking.
Do you repair ducted mini-splits in Los Angeles?
Yes. We work on mini-splits across Los Angeles, including concealed ducted systems like this Hollywood condo, where one rooftop condenser feeds three air handlers hidden above the ceiling. That covers leak searches, brazed line repairs, and vacuum work before recharging. We're CA BEAR registered (#A 50636) and EPA 608 Universal certified, and the work carries a 30-day labor and 90-day parts warranty. Call or text (213) 205-2055.
Where do ducted mini-splits usually leak?
On the line side, almost every time. Either somewhere along the refrigerant line or at a flare connection, and flares are the more common of the two. It's the most common call I get on ceiling mini-splits in condo buildings, because those joints sit above ceilings where nobody ever opens up and looks at them. On this job the charge was leaving above a hallway closet, not at the equipment on the roof.
What does it take to braze a refrigerant line inside a ceiling?
Preparation, mostly. The joint on this job sat in a cavity with wood joists on both sides, OSB sheathing overhead, fiberglass insulation in the bays and flex duct running past it. Everything within reach of the flame got coated in heat-blocking gel before the torch went in. The brazing itself is the short part of that work.
The condenser is on the roof, so why was the leak inside the condo?
Because the leak follows the line set, not the equipment. On this system the rooftop condenser feeds three air handlers concealed above the ceiling, and the refrigerant lines run all the way out to each one. The leak test pointed away from the roof and into a hallway closet with an access panel overhead, which is where the copper joint that let go turned out to be.
How do you keep a mini-split flare connection from leaking?
We put a thin plastic ring into every flare before the nut goes on. Tightening crushes it, and the crushed plastic fills what metal against metal leaves open. It's the best answer we've found for flare joints on mini-splits, so it's standard on our work rather than something you have to ask for.
AC, heater or mini-split acting up? We cover LA and the Valley.
Call (213) 205-2055 or text a photo of the unit and its model sticker.